Are you tired of constantly breaking your carpenter pencil lead? Frustrated with the lack of precision in your lines? Fear not, because we have got you covered! In this blog post, we will explore the best ways to sharpen a carpenter pencil like a pro. From choosing the right sharpener to mastering techniques for achieving razor-sharp tips, get ready to take your woodworking game to the next level.
What is a Carpenter Pencil?
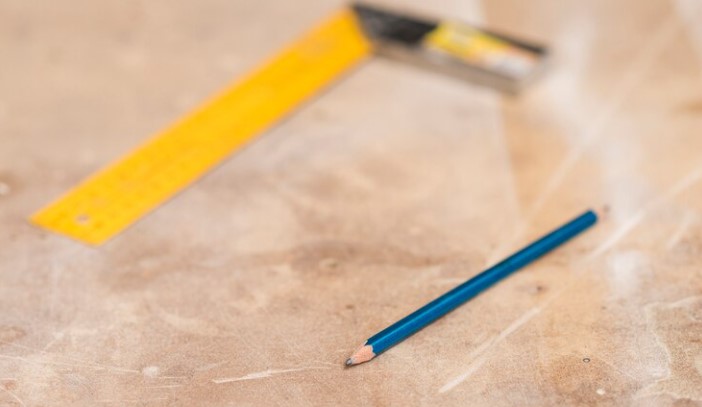
A carpenter pencil is a pencil that is used by carpenters. It is usually made of wood and has a lead core. The lead core is surrounded by a thin layer of cedar or other wood. Carpenter pencils are usually sharpened with a knife, but they can also be sharpened with a pencil sharpener.
Why Sharpen a Carpenter Pencil?
There are a few reasons you might want to sharpen your carpenter pencil. Maybe your pencil is getting dull and you want to keep it sharp for precision work. Or, maybe you like the look of a freshly sharpened pencil! Either way, it’s easy to do with just a few simple steps.
First, find a good sharpening tool. You can use a standard pencil sharpener, but we recommend using a knife or blade specifically designed for sharpening carpenter pencils. This will give you the best results.
Next, hold the pencil in one hand and the sharpener in the other. Start by inserting the lead into the hole at the top of the sharpener (the larger of the two holes). Apply light pressure and twist the pencil until the lead is completely inside the hole.
Now, start moving the sharpener down towards the tip of the pencil while continuing to apply light pressure and twist. Keep going until you have a nice, pointy tip!
And that’s it! You’ve now successfully Sharpened your Carpenter Pencil.
How to Sharpen a Carpenter Pencil
To sharpen a carpenter pencil, first find a sharpening stone. If you do not have a sharpening stone, you can use a piece of sandpaper or an emery board. Place the sharpening stone on a flat surface. Start with the narrow end of the pencil and hold it at a 90 degree angle to the stone. Slowly move the pencil across the stone, using even pressure. Be sure to keep the angle consistent as you sharpen the pencil. After a few strokes, check the point of the pencil to see if it is sharp enough. If not, continue sharpening until it is to your desired level of sharpness.
Tips for Sharpening a Carpenter Pencil
Assuming you’re starting with a relatively sharp carpenter pencil, the first thing you’ll want to do is find a good sharpening stone. If you don’t have one, any fine-grit sandpaper will work in a pinch. You’ll also need something to hold the pencil while you’re sharpening it, like a vise or clamp.
Once you have your sharpening stone and holding device ready, start by wetting the stone with some water. This will help keep the dust down and prevent the pencil lead from getting too hot during sharpening. Next, place the carpenter pencil on the stone at a roughly 30-degree angle and start moving it back and forth until you have a nice, sharp point.
If your carpenter pencil has become too short to sharpen effectively, you can try using a utility knife to carefully whittle away at the wood until you have more of the lead exposed. Just be careful not to cut yourself.
Conclusion
Sharpening a carpenter pencil is not as hard as it may seem. With the right tools and techniques you can quickly sharpen your pencil to an exact point without too much effort. By following these simple steps, you can keep your carpenter pencil sharp for many years to come. Keep in mind that if you use a dulled out or broken lead, make sure to replace it with fresh lead before sharpening again for best results.
Read Also: Girl’s Hoodie: How It Can Elevate Your Style Game